Discover how to produce your own oat milk at home! It always comes out smooth and creamy with this simple recipe, making it ideal for adding to coffee, baking recipes, and more!
Have you ever tried oat milk? It seems to be cropping up everywhere lately.
You can put it in your coffee at Starbucks, buy it in a carton at the grocery, or even have a pint of oat milk ice cream! I wanted to know what all the excitement was about, so I attempted to make my own oat milk at home.
I must admit, I’m addicted! It’s simple to make, smooth and creamy, and has a delicious oat-y flavor that goes well with coffee or tea.
This recipe does not require any specific equipment, unlike other non-dairy milk recipes (looking at you, nut milk bags). It only takes minutes to make because you don’t have to soak the oats first.
5 minutes, a handful of whole rolled oats, filtered water, a fine mesh strainer, and a powerful blender are all you need! So, what exactly are you waiting for?
How to make Oat Milk?
 Food: Oat Milk (Source: Green Queen)
It’s simple to make wonderful oat milk! But, if you’ve made other plant-based milk before, a word of caution: it’s not like making almond milk, where you squeeze as much liquid out of a nut milk bag as possible.
It’s important to compress and crush the mixture as little as possible in this recipe. If not, it will become slimy and gritty. Here’s how I do it:
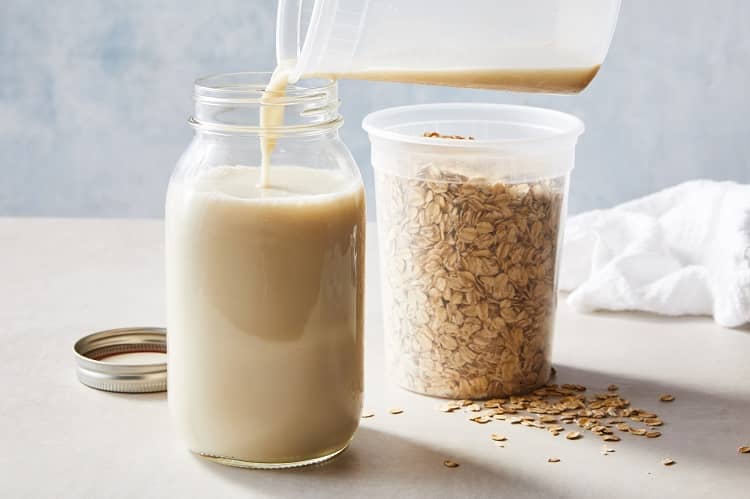
- Blend: First, I puree the oats and filtered water for 30 seconds in a powerful blender (I use a Vitamix) until the water is creamy and white. Be cautious not to over-blend for the greatest texture!
- Strain: After that, pour the oat milk through a fine-mesh strainer over a large mixing basin. Some liquid may collect at the strainer’s bottom. That’s fine! This liquid, as well as any oat pulp beneath it, should be discarded. If you try to squeeze the pulp through the sieve to get more liquid through, the milk will become sticky and grainy.
- Repeat the straining process (optional): Strain the liquid twice for extra-smooth oat milk, eliminating the residual pulp each time. Although this step is optional, it will result in the smoothest final texture.
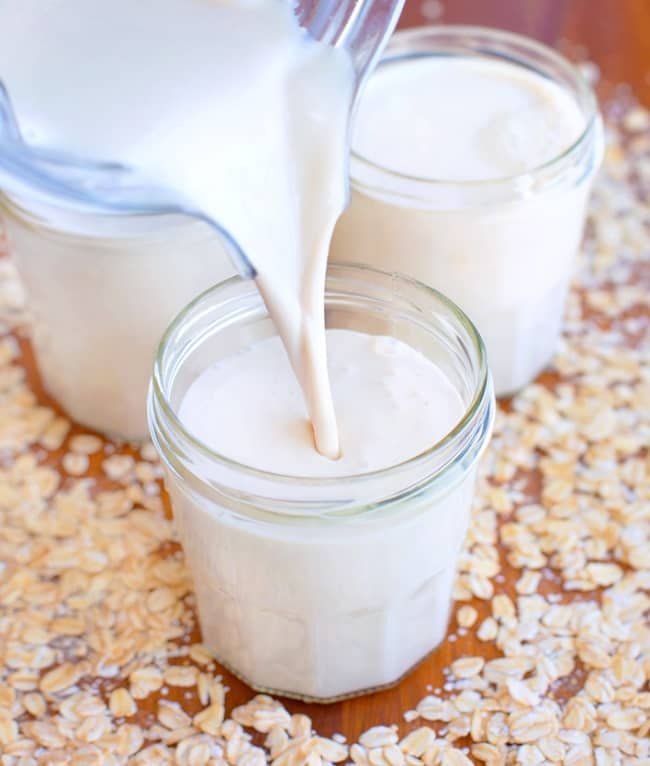
- Relax and have fun! I prefer my oat milk cold from the refrigerator. When you go to use it, don’t shake it like other dairy-free milk. Instead, pour the creamy milk off the top and let any residual oat pulp settle at the bottom of the jar.
How to Use It?
Use oat milk the same way you would dairy milk, cashew milk, or any other form of milk once you’ve made it. I prefer to freeze it and drink it over ice, mix it with coffee, or make a matcha latte with it.
It would also be delicious in oatmeal, baked oatmeal, overnight oats, or no-bake cookies for breakfast or brunch.
Use it instead in any milk-based brunch baking dish, such as vegan chocolate cake, blueberry muffins, banana bread, or cinnamon rolls.
I don’t advocate using it in savory recipes because of the strong oat flavor. To sweeten it up, I like to add a touch of salt, a splash of vanilla, and maple syrup!
Oat Milk
| Time to Prepare: 5 minutes
Time allotted: 5 minutes Serves: 4 |
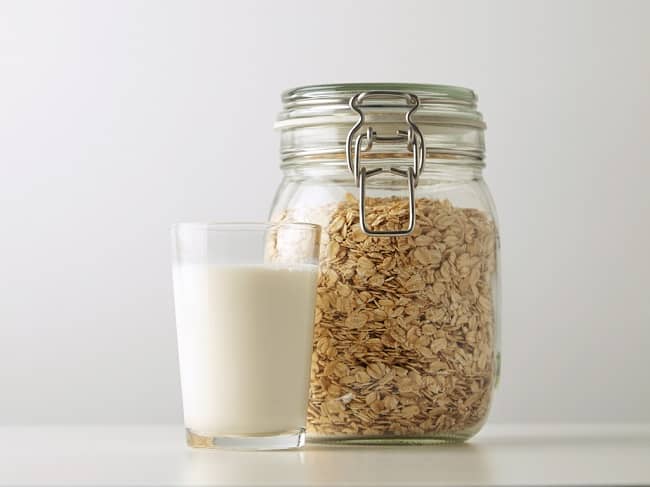
When you can create your own oat milk at home, there’s no need to buy it from the supermarket. It’s creamy and smooth, and it’s great in coffee, baking, and cereal!
Ingredients
- 1/2 cup rolled oats, whole
- 3 quarts liquid
- maple syrup (two teaspoons)
- 12 teaspoon extract de Vanille
- 1/8 teaspoon salt
Instructions
 Food: Oat Milk (Source: Green Queen)
- Blend the oats, water, maple syrup, vanilla, and salt for 30 seconds in a blender.
- Strain the milk through a fine-mesh strainer over a large basin, avoiding forcing any excess pulp through the filter. This will result in a creamier, less grainy, and sticky texture.
- If desired, add more maple syrup to taste. Allow chilling overnight. I recommend adding ice to your oat milk if you want to consume it right away; the flavor is finest when it’s fully cooled.
Notes
- If you’re gluten-free, make sure you use Certified Gluten-Free oats.
- The natural separation will occur as the oat milk sits in the fridge. You can shake it if you want, but I prefer the texture when the pulp is left at the bottom and the liquid is poured from the top.