Famous chicken Kyiv is the main dish that looks elegant but is simple to make!
Delicious herb butter is rolled over tender chicken breasts before being baked in a bread crumb crust( Chicken Kyiv). They have a crunchy exterior and a luscious, buttery interior.
Due to the requirement for the butter to chill, it is advisable to make this dish in advance. Bake it for a quick weeknight meal or to dazzle your visitors!
Crispy Kiev Chicken
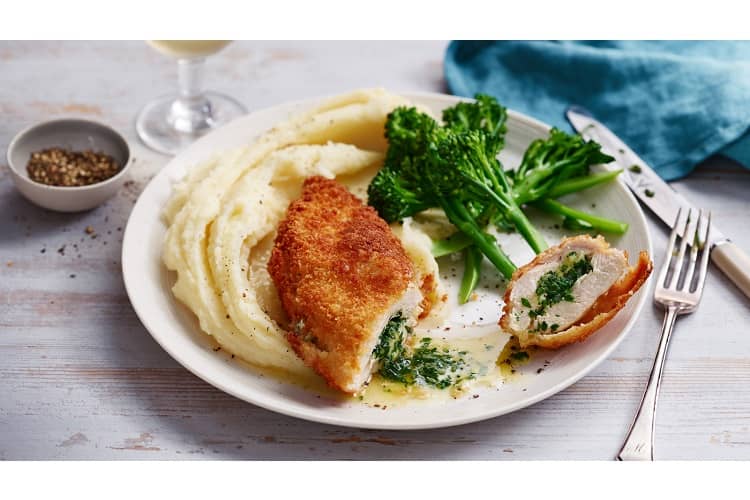
 Food: Chicken Kiev (Source: The Kitchn)
We adore chicken dinners, from the most succulent oven-baked thighs to a garlic butter roast chicken. Our preferred choice is this variation because of its fantastic buttery flavor.
- Skip the deep fryer; in our opinion, homemade Chicken Kyiv is tastier when panfried in a big skillet before baking, covered in bread crumbs (or Panko).
- In addition to keeping the meat soft and enhancing flavor, tucking a savory herb butter made with Challenge butter inside a chicken breast half also produces its sauce as you cut it open!
- Chicken Kyiv chunks can be assembled and frozen for preparation in advance. Any day of the week, bake from frozen for a quick meal!
- Serve it with warm comfort food favorites like velvety Spinach Gratin, Duchess Potatoes, or Easy Hasselback Potatoes.
Ingredients
To ensure speedy and consistent cooking, choose skinless, boneless chicken breasts for this dish. It’s simple to make a pocket out of them and fill it with garlic-herb butter.
The magic is made with Challenge Butter. Since the major flavor in this recipe is butter, you should choose a particularly superior salted butter.
Challenge uses fresh milk and cream from content cows to make its butter in an old-fashioned manner.
It’s the ideal base for the herb butter in this recipe, as well as for garlic butter to add to all of your recipes, as it has a lovely buttery flavor and is free of added hormones or additives.
Use tarragon and fresh parsley (or dried if you prefer). It can be combined with a tiny bit of garlic and some vibrant chives to make a sauce with complex flavors. If you’d like, you can also use a few drops of fresh thyme leaves or lemon juice.
Guidelines for Chicken Kiev
- Create a pocket in the chicken by cutting with a little paring knife. Don’t cut all the way through, please. You want all of that buttery goodness to stay within the pocket.
- Before adding it to the chicken, chill the butter to make it easier to handle.
- Use both the flour and the egg wash (and don’t hesitate to give it a second go if you like!).
- After breading the chicken, make sure to cool it. This lessens the possibility of the butter spilling out.
- Cook the chicken until it reaches 165°F.
How to Prepare Kiev Chicken
- Challenge salted butter and herbs should be combined, then pat into a square. Prepare the ingredients below and chill.
- Each chicken breast should have a pocket that you can stuff with the cold butter mixture.
- Place the breaded chicken in the refrigerator for an hour (or overnight, if you like).
- Cook until well done and golden.
A Simpler Approach: Rolling the butter inside of a pounded chicken breast is a common step in chicken Kyiv recipes. Cutting a pocket is not only faster and simpler, but it also better retains the butter and has the same flavor—extra buttery with a crispy coating!
How to Prepare Frozen Chicken Kiev
Remove the plastic wrap from the oven. Bake frozen chicken in the center of a 400°F oven for about 35 minutes, or until the internal temperature of the chicken reaches 165°F.
Freezing & Remaining Foods
Before baking, freeze for up to three months. Never brown the chicken in advance.
If you want to bake the chicken straight from the freezer, skip the browning step and use cooking spray instead. Bake the chicken for 35–40 minutes, or until it reaches 165°F.
For up to three days, keep leftovers in a sealed container. Reheat parts in the microwave or air fryer, then pan fry in a little butter till crisp and heated all the way through.
Kiev Chicken
With handmade garlic butter, chicken is cooked until it is delightfully moist and tender.
| 20 minutes preparation
40 minutes for cooking freeze time: 1 hour and 20 minutes 2 hours 20 minutes in total servings: 4 |
Ingredients
- 4 boneless skinless chicken breasts about 5-6 oz each
- 1 egg
- ½ cup seasoned bread crumbs
- ¼ teaspoon salt
- ⅓ cup all-purpose flour
- 2 tablespoons vegetable oil
butter mixture
- ½ cup Challenge butter salted, softened (1 stick)
- 1 clove garlic minced
- 2 teaspoons dried parsley or 1 tablespoon fresh parsley
- ½ teaspoon dried tarragon or 1 ½ teaspoon fresh, optional
- ½ teaspoon dried chives or 1 ½ teaspoon fresh chives or green onion, optional
Instructions
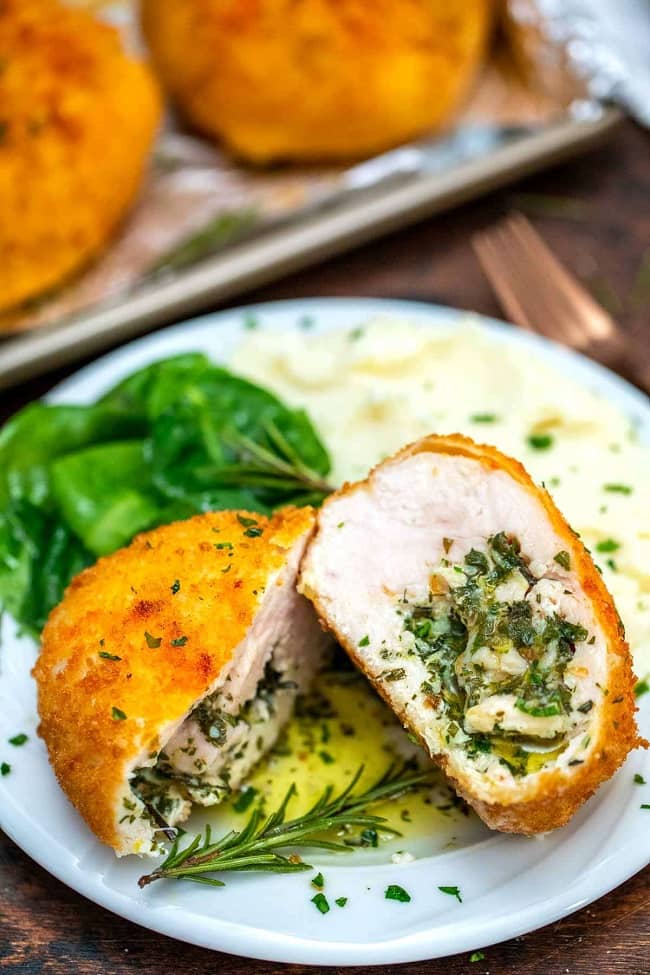
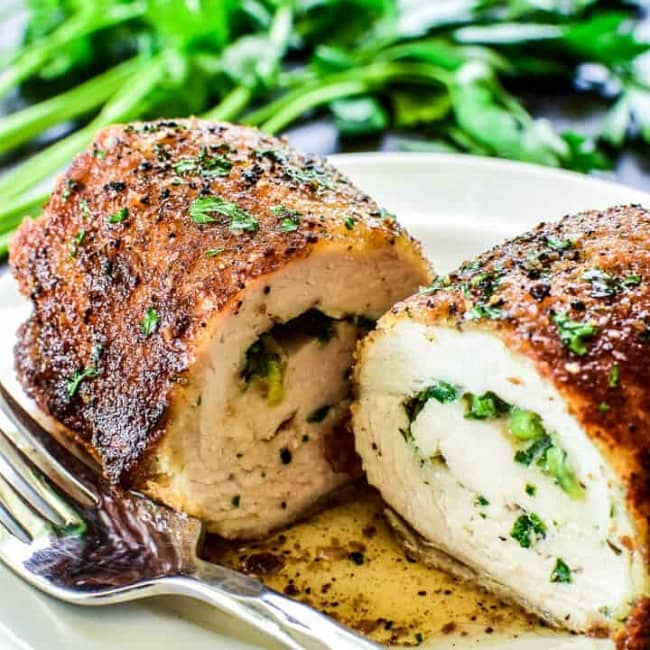 Food: Chicken Kiev (Source: The Kitchn)
- In a small bowl, combine all the ingredients for the butter mixture. On a piece of plastic wrap, pat into a 4″ x 2″ square and place in the freezer for 20 minutes or in the refrigerator for an hour, or until firm.
- Set the oven to 400°F.
- Beat the egg well in a bowl with a tablespoon of water. In another bowl, combine the salt and bread crumbs.
- By inserting the knife into the side of the chicken breast and cutting an opening, make a pocket in each chicken breast. Make sure to only create a small pocket in the chicken; avoid cutting all the way through.
- Take the butter out of the refrigerator and cut it into four pieces (1″x2″ each). Each chicken breast should have a pocket where you may put a bit of butter. Using a toothpick, secure the chicken.
- Roll the chicken in flour after seasoning with salt and pepper to taste. Dip into the beaten egg, then gently push to adhere to the breadcrumbs. Refrigerate for up to 24 hours or at least one hour.
- In a big oven-safe skillet, heat the vegetable oil over medium-high heat before adding the chicken. Cook for two to three minutes on each side, or just until browned.
- When the chicken reaches 165°F, place the skillet in the oven and bake for 18 to 20 minutes. Before serving, remove the toothpicks.
Notes
- Create a pocket in the chicken by cutting with a little paring knife. Don’t cut all the way through, please. You want all of that buttery goodness to stay within the pocket.
- Before adding it to the chicken, chill the butter to make it easier to handle.
- Use both the flour and the egg wash (and don’t hesitate to give it a second go if you like!).
- After breading the chicken, make sure to cool it. This lessens the possibility of the butter spilling out.
- Cook the chicken until it reaches 165°F.
Prepare Ahead and Freeze
Before baking, chicken Kyiv can be made in advance and stored in the refrigerator or freezer. Never brown the chicken in advance.
If you want to bake the chicken straight from the freezer, skip the browning step and use cooking spray instead. Bake the chicken for 35–40 minutes, or until it reaches 165°F.
For up to three days, keep leftovers in an airtight container.
Nutrition information
Calories: 509 | Carbohydrates: 19g | Protein: 29g | Fat: 35g | Saturated Fat: 17g | Polyunsaturated Fat: 3g | Monounsaturated Fat: 13g | Trans Fat: 1g | Cholesterol: 174mg | Sodium: 696mg | Potassium: 516mg | Fiber: 1g | Sugar: 1g | Vitamin A: 1264IU | Vitamin C: 6mg | Calcium: 57mg | Iron: 2mg