- Recipe: Dried Chile Salsa
- Writer: Lizzie Green
- Content-Type: Food Blog
During this time of year, when tomatoes aren’t in season, dried chile salsa has turned out to be my go-to salsa or sauce.
The other day, I uploaded this alongside the recipe for black bean soup; however, I wanted to elaborate and explain the exact procedures involved.
Due in large part to the fact that I’ve been watching numerous episodes of Rick Bayless’s Mexico One Plate at a Time, I now realize that dried chiles are actually rather simple to deal with, despite the fact that I’ve always found them to be a little bit intimidating.
Rick made it seem effortless, and in all honesty, it is. So here goes:
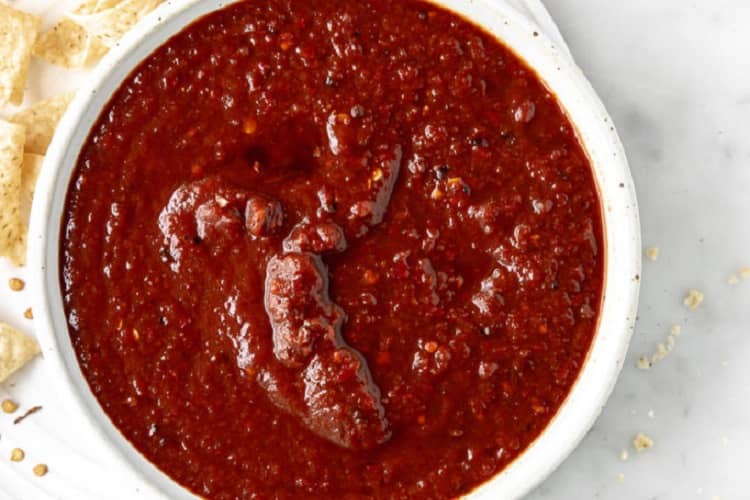
 Food: Dried Chile Salsa (source: Serious Eats)
This is not the kind of “salsa” that you want to necessarily use to dip tortilla chips in… It does not have a particularly hot spice level, but the flavor is really robust.
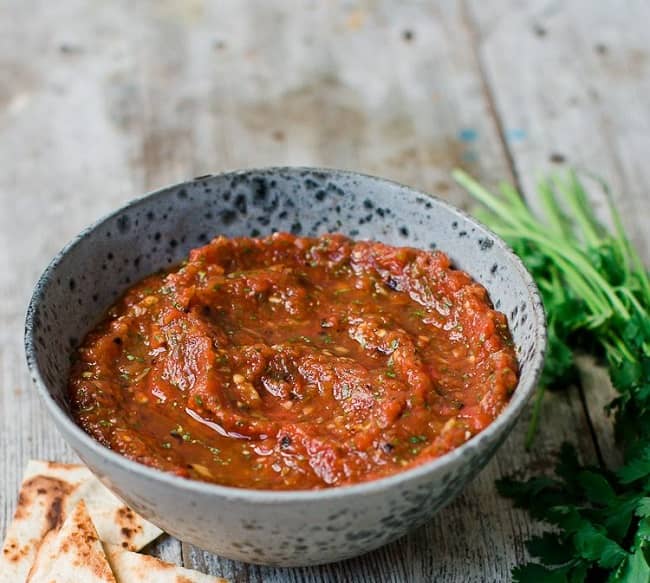
It is not intended to be used as a dip but rather as something that is applied to other foods. You just need a small amount because it goes a long way, and it would be an excellent condiment to add to (for instance) some of the following meals:
- On fish tacos
- on breakfast taco
- with grilled vegetables
- on toast with a fried egg and avocado
- with grilled vegetables wrapped in tortillas
- stirred into a black bean soup
Dried Chile Salsa Ingredients
- 8 dried guajillo chiles (or mix of guajillo and ancho chiles)
- 2 cloves garlic
- water, to soak
- ½ cup fire-roasted tomatoes (canned is fine)
- 2 tablespoons olive oil
- a few teaspoons of honey, agave syrup, or cane sugar
- salt
Dried Chile Salsa Instructions
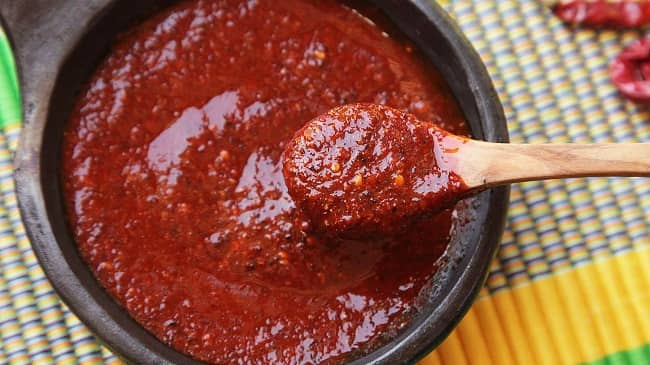
 Food: Dried Chile Salsa (source: Serious Eats)
- To remove the stem from the chili, you will need a pair of scissors. Remove the seeds after cutting them open along their length.
- Warm a skillet made of cast iron and position the garlic cloves, still wrapped in their paper, close to the edge of the pan. The chilies should be pressed down into the pan so that they lie flat. Toast the bread for no more than a minute on each side, working in batches. (While you finish toasting the chilies, let the garlic continue to roast).
- Toss the roasted chiles with a generous amount of heated water in a large bowl and set aside. They should be allowed to soak for about half an hour, during which time they should be turned over occasionally.
- To remove the chiles, use a pair of tongs, and then throw them in a blender along with the garlic (that has been peeled), tomatoes, a tablespoon of olive oil, a little of honey, and a few pinches of salt. Blend until smooth. Combine until there are no lumps.
- In a pot that is preheating over medium heat, add the one tablespoon of oil that is still remaining. Simmer for one or two minutes after adding the chile sauce that was made in the blender. Try it out and make any necessary adjustments to the seasonings. If it tastes too harsh, try adding additional honey (or sugar).
Notes
- You may keep this in the refrigerator for up to a couple of weeks.
- Do not give in to the temptation of using the water from the soaking process in the blender; we did this, and the result was an extremely bitter mixture.
- If you want the sauce to have a lighter texture and a more vibrant taste, add additional tomatoes.